What is the drainage construction procedure? [Phases Guide]

By
Marketing Team
@Onetrace
Across Europe, flooding does more damage than any other natural hazard.
Over the past 30 years, floods have affected 5.5 million people, taken nearly 3,000 lives and caused more than €170 billion in damage. Much of that impact comes down to one issue: when water has nowhere to go, it finds its own path and often does real harm along the way.
That’s why drainage matters.
A good system moves excess water away before it can undermine the ground, weaken structures, or trigger local flooding. Whether it’s a simple run of pipe or a deep network built for heavy flow, the goal is the same: keep people, property, and land safe.
But how are these systems actually built?
This guide offers a practical overview of the drainage construction procedure, from the initial examination of the area all the way to marking the finished outlet.
Key takeaways
Drainage construction follows a clear four-phase process
Drainage is built in defined stages. Knowing this flow helps you scope work properly, plan resources, and avoid jumping ahead before the ground and designs are ready.Good planning prevents most on-site problems
A thorough site examination and solid plan do most of the heavy lifting. Checking soil, slope, rainfall, and runoff, then turning that into a clear layout, levels, dimensions, and sequence of works, is what stops wrong levels, clashing layouts, and rework later.Accuracy during excavation and slope setting is critical for performance
Getting trenches to the right line and depth, then setting a consistent fall with checked and calibrated tools, is what makes the system actually move water. Small errors at this stage show up as standing water, poor flow, and costly fixes after installation.Strong installation and protection keep the system working long term
A smooth base, correctly placed reinforcement, well-built walls, and correctly chosen drainage elements all protect the structure. Covering, backfilling, and marking outlets properly means the system can be maintained safely and accessed when needed.Digital tools like Onetrace make drainage projects smoother and easier to prove
The work doesn’t end when the trench is closed. Teams need records, photos, layouts, and reports in one place to stay compliant, reduce disputes, and manage future maintenance. Onetrace allows you to manage drainage projects with confidence and show the quality of your work in minutes.
Phase 1: Planning and preparation
This phase sets the foundation for the entire drainage construction procedure. If it’s rushed or overlooked, issues tend to show up later, including wrong levels, clashing layouts, and a system that doesn’t move water as it should.
These four steps help you protect time and cost while giving the project a clear, steady path forward.
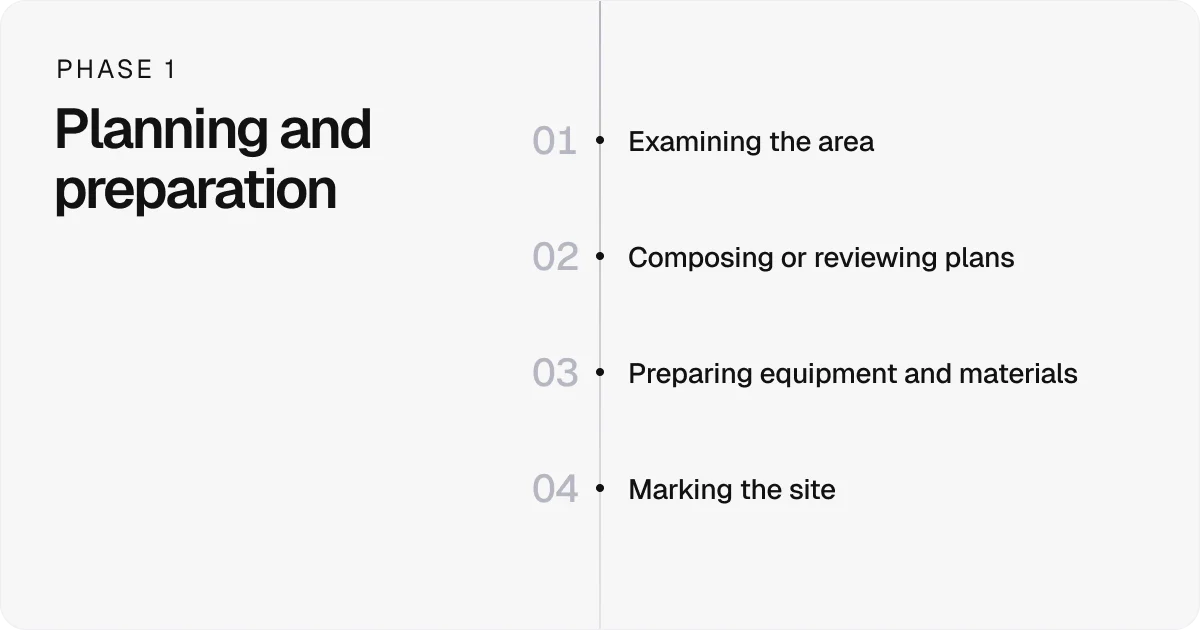
Step 1: Examining the area
Before any drainage work begins, you need to understand the ground you’re working with.
This step guides the choice of system, shows how water will move across the site, and highlights risks that could cause problems later, and it should include:
Soil type and condition: Determine how quickly water can soak in and whether the ground may soften, erode, or hold moisture.
Slope of the land: See how water naturally moves and whether the planned gradient will support a steady flow.
Rainfall patterns: Judge how much water the system must handle during heavy spells.
Runoff behaviour: Measure how much water reaches the surface during storms and whether the site is prone to pooling or fast overland flow.
Site limits and surrounding features: Confirm that the planned line and depth fit the real conditions on the ground.
Step 2: Composing or reviewing plans
The site examination should lead to a clear plan for how the drainage system will sit in the ground. Taking time with the plan helps avoid rework later and helps the crew line up the right tools and materials.
A solid plan should set out:
The line of the system: It shows where pipes, channels, and manholes run across the site and how each part links together.
Depth and gradient requirements: Levels are confirmed early so water can move as intended, and the fall of each section supports steady flow.
System dimensions: Key measurements, such as pipe sizes and manhole types, guide the work and help the crew prepare the right materials.
Connection points: Linking to existing drainage or sewer lines needs to be planned in advance to avoid issues once the ground is open.
Order of works: A clear sequence keeps excavation, installation, and backfilling moving in the right order with fewer interruptions.
Step 3: Preparing equipment and materials
The exact kit you’ll need depends on the design and site conditions, but it generally includes essentials needed to measure, align, and install the drainage correctly.
Most setups will call for:
Levels or lasers: Use them to check depth and gradient so the system keeps a consistent fall.
Surveying instruments: Tools such as theodolites, total stations, or GPS units help maintain accurate alignment.
Selected materials: Prepare all the pipes, fittings, manholes, and any protective layers chosen to match the soil, load, and expected water flow.
All instruments should be calibrated and working properly before the first cut is made.
Step 4: Marking the site
Marking the site gives the crew a clear guide for where to dig and where each part of the system will sit. Accurate marks at this stage help prevent costly corrections once excavation begins.
Key tasks include:
Marking the route of the system using stakes or spray paint
Setting out manholes and inspection chambers in their exact positions
Checking alignment and gradient to confirm they match the design
Pro tip:
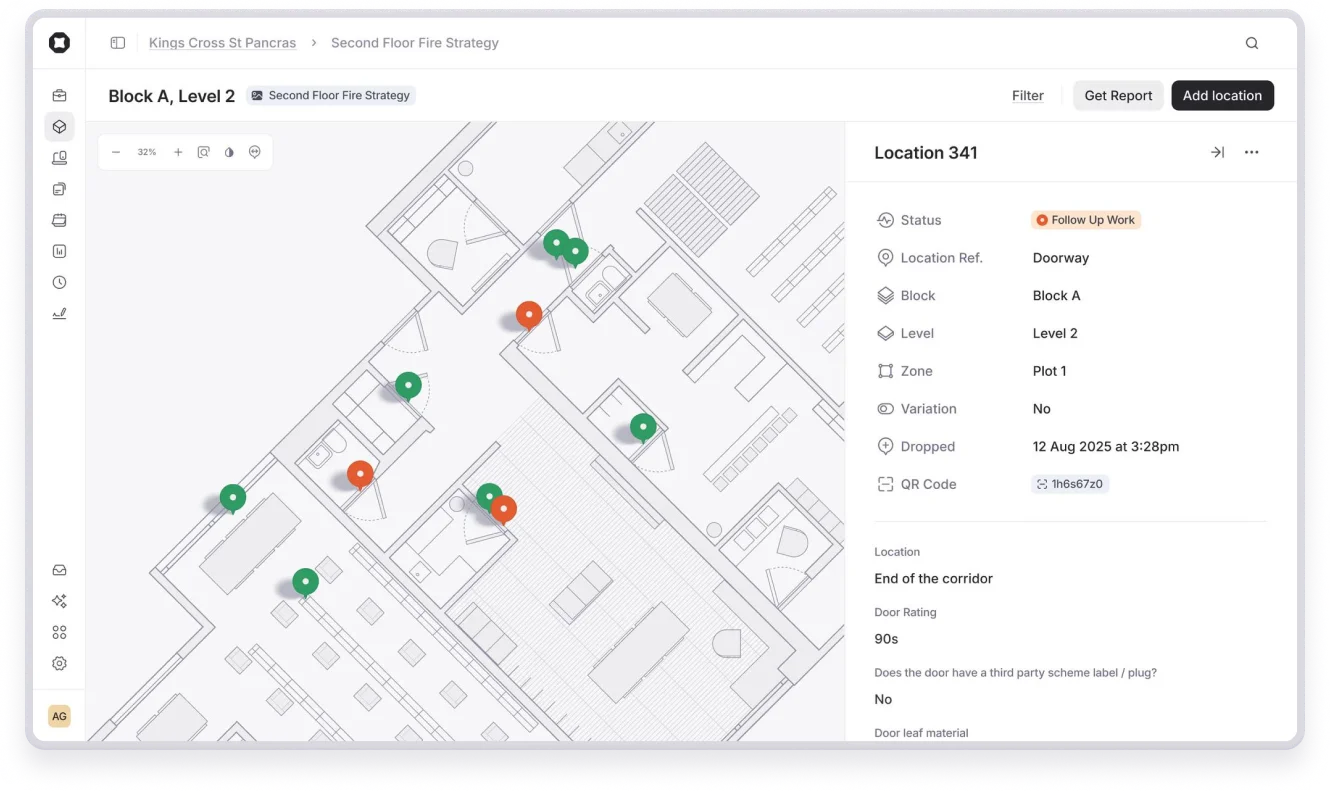
Marking the ground is only half the job. It helps just as much to mark the site digitally, so the whole team can see the layout, track progress, and keep records that don’t wash away with the weather.
To do so, you need a construction software like Onetrace.
With Onetrace’s Digital Site feature, you can build a structured site by zones and drop precise pins for all key locations in the drainage layout.
Storing site status and exact locations in one place keeps the data searchable and easy to review throughout the build.
Phase 2: Ground excavation
This is where the work on the ground begins. A careful excavation sets up the installation that comes next and prevents problems that are far harder to fix once the pipes are in place.
Phase two of the drainage construction procedure typically involves two steps.
Step 1: Digging the trenches
During this step, the crew begins opening the ground along the planned route. The aim is to create a clear, stable trench that matches the shape set out earlier.
To achieve this, you must pay attention to:
Following the marked line: Regular checks help keep the trench aligned with the layout.
Holding the right depth: The excavation should match the planned levels so later stages fit as intended.
Responding to ground changes: Soft spots, rocks, or buried obstacles may call for small shifts or extra support.
Maintaining safe sides: Trenches should be cut in a way that reduces the risk of collapse and keeps the team safe.
Keeping communication tight: The excavation team and the setting-out team need to stay in close contact to maintain accuracy.
Step 2: Establishing the slope
Once the trench is open, the next task is to set a steady fall so water can move through the system as planned.
This stage is all about accuracy. Even small errors can lead to standing water, overspeed flow, or later rework.
Here are key checks during this step, and why they matter:
Overall fall along the trench: A steady fall keeps water moving through the system without slowing or backing up.
Local dips or high spots: Small bumps can interrupt flow or create standing water once pipes are installed.
Alignment with design levels: It ensures the trench ties in cleanly with manholes, pipes, and the outlet.
Changes in ground conditions: Soft spots, rocks, or obstructions can disrupt the slope and require adjustments.
Accuracy of measuring tools: A miscalibrated tool can throw off the fall across the whole run.
Phase 3: Base work and system installation
With the trench prepared, the focus shifts to building the base and installing the drainage elements.
This phase of the drainage construction procedure calls for steady workmanship and regular checks, as small deviations in alignment or level can affect the system’s performance.
Keeping a close eye on each of these five steps helps ensure the installation matches the plan and works as intended.
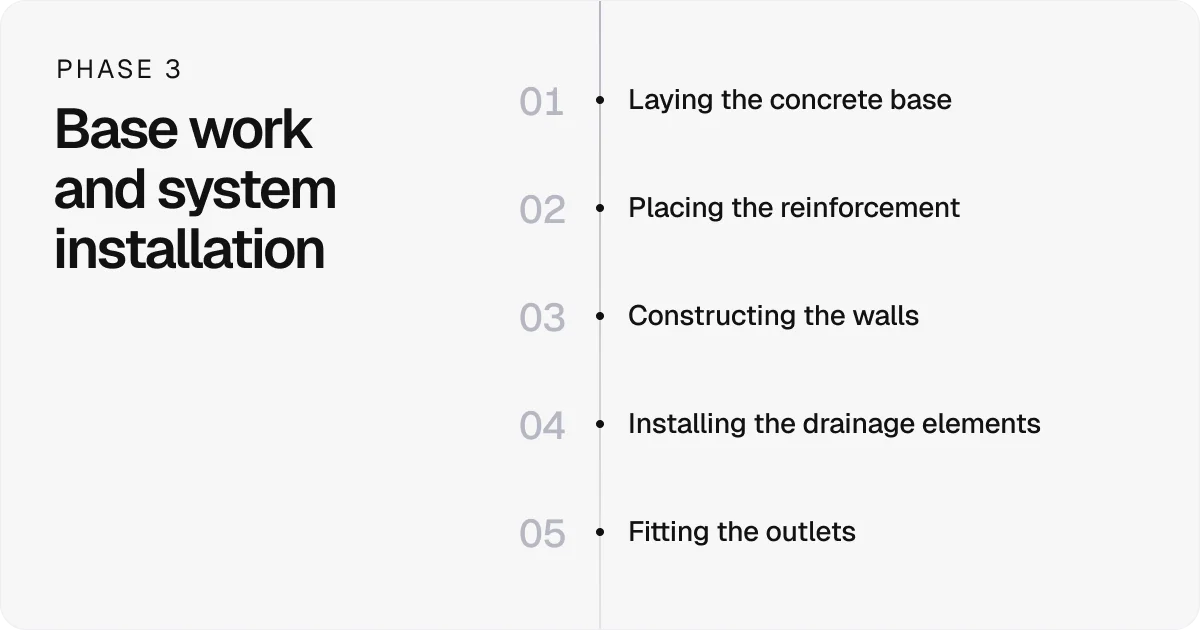
Step 1: Laying the concrete base
The base starts with a thin blinding layer laid across the bottom of the trench. This smooths out any uneven ground and creates a level, reliable surface for the drainage elements that follow.
A steady base helps prevent movement, keeps the installation true to line, and reduces the risk of distortion once the system is backfilled and under load.
Step 2: Placing the reinforcement
Reinforcement is set into place to strengthen the base and walls of the drainage structure.
The bars are positioned on the blinding so they sit at the right height and stay clear of the concrete surface.
This cover protects the steel, keeps the structure durable, and helps the installation hold its shape once the system is in use.
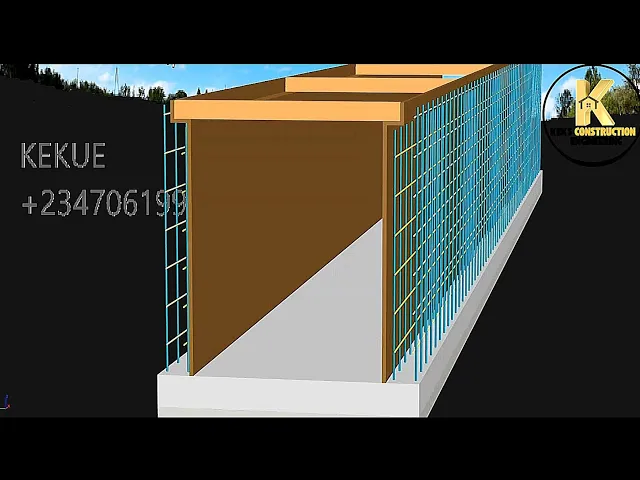
Step 3: Constructing the walls
The walls of the drainage structure are usually built by casting concrete between formwork or, in some cases, laying concrete blocks.
Formwork acts as a temporary mould that holds the wet concrete in place until it hardens. It keeps the walls to the right shape and size and ensures the concrete cures with a smooth, stable finish.
Once the concrete has set, the formwork is removed, and the structure is ready for the next stage.
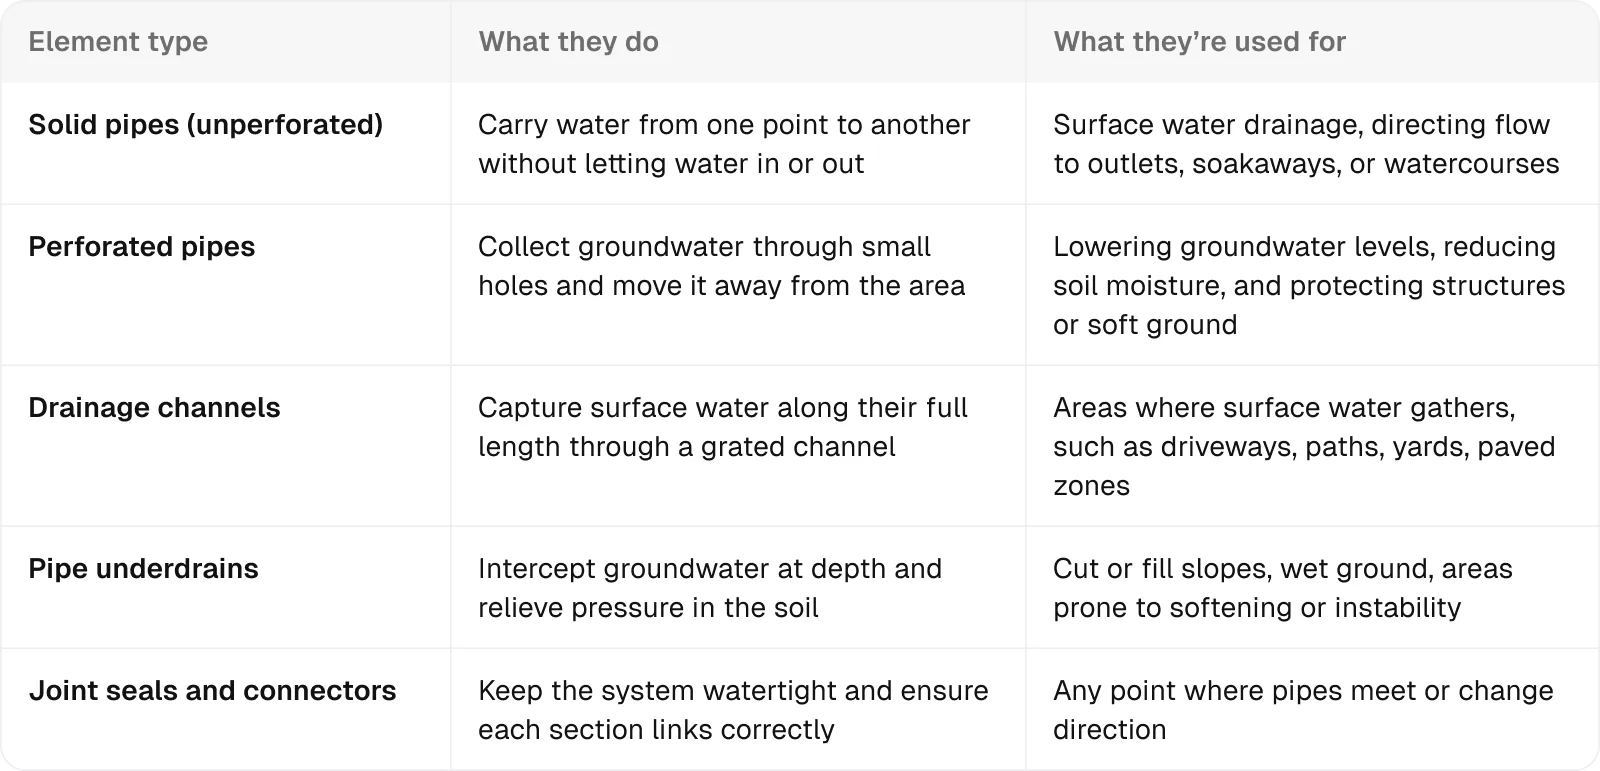
Step 4: Installing the drainage elements
This is the point where the system starts to take shape. Pipes, channels, and other drainage components are set into place and aligned with the marked layout.
The aim is to position each element so water can move freely through the system without leaks, blockages, or unwanted changes in direction.
The table below gives an overview of the main types of drainage elements used on-site:
Step 5: Fitting the outlets
Outlets catch water from the system and move it into the next line or basin. Set them in the planned position, fix them at the right height, and connect them to the rest of the drainage run so water can leave the system without interruption.
Phase 4: Final works and sign-off
The last three steps of the drainage construction procedure protect the installation, mark key points for future access, and record the work so the system can be efficiently maintained.
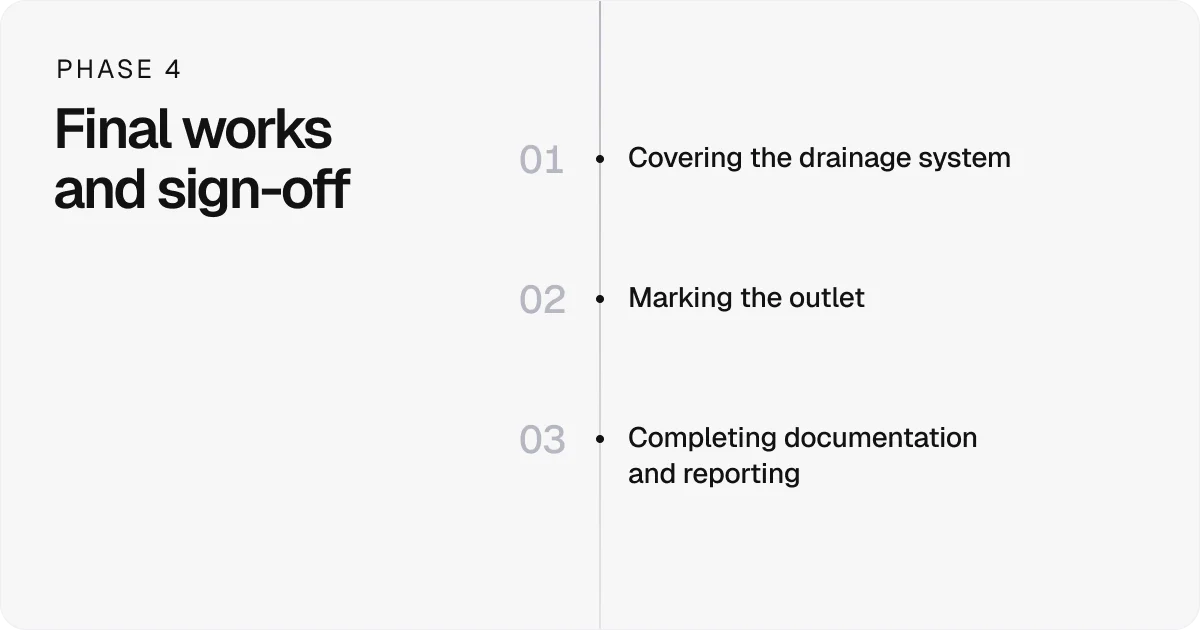
Step 1: Covering the drainage system
Once the structure is in place, you need to close up the trench to shield the system from damage. This includes:
Placing the capping or cover: Cast a concrete capping or set pre-cast slabs over the top.
Adding protective layers: Use gravel or crushed stone to guard the system and support water flow.
Backfilling in stages: Return soil in layers and compact each one to keep the ground stable.
Letting concrete cure: Allow time for the capping to set before adding any final finishes.
Step 2: Marking the outlet
The outlet needs to be easy to find once the ground is closed. Place a delineator post or marker at the outlet point so future checks, cleaning, or repairs can be carried out without searching for the line.
Step 3: Completing documentation and reporting
Good records help future teams understand what was built, where it sits, and how it performed during installation. This saves time during maintenance and prevents guesswork later on.
Your documentation should cover:
Set-out data and any changes made during excavation or installation
Quality checks carried out on levels, alignment, and connections
The final layout of all drainage elements for future reference
Photos before, during, and after the work to show condition and completion
Pro tip:
Documentation is only useful if you can find it when you need it.
Storing everything in a single digital location keeps records organised, protects against lost information, and makes future maintenance or audits far easier.
Besides providing centralised storage, Onetrace also allows you to:
Capture clear photographic evidence before, during, and after work to prove quality and support sign-off
Generate branded reports that reduce disputes and help payments move faster
Build a strong audit trail that gives clients and inspectors confidence in the work carried out
Keep drainage projects moving smoothly with Onetrace

Any construction work, including the entire drainage construction procedure, runs far more smoothly when teams have clear information, steady communication, and reliable records.
That’s where Onetrace makes a real difference.
It gives contractors and subcontractors one place to plan, track, and evidence their work, cutting down on delays and helping projects stay on time and within budget.
Arrange a quick session with our team and see how Onetrace can support your next project.
Marketing Team
@Onetrace
The Onetrace marketing team is passionate about sharing insights, ideas, and innovations that help construction businesses stay connected, compliant, and efficient. Combining industry expertise with a love for clear communication, we aim to deliver content that empowers professionals to work smarter and safer.